|
On 2/4/15 I made a post describing experimental glazes. They came out of the glaze kiln, and turned out the following: 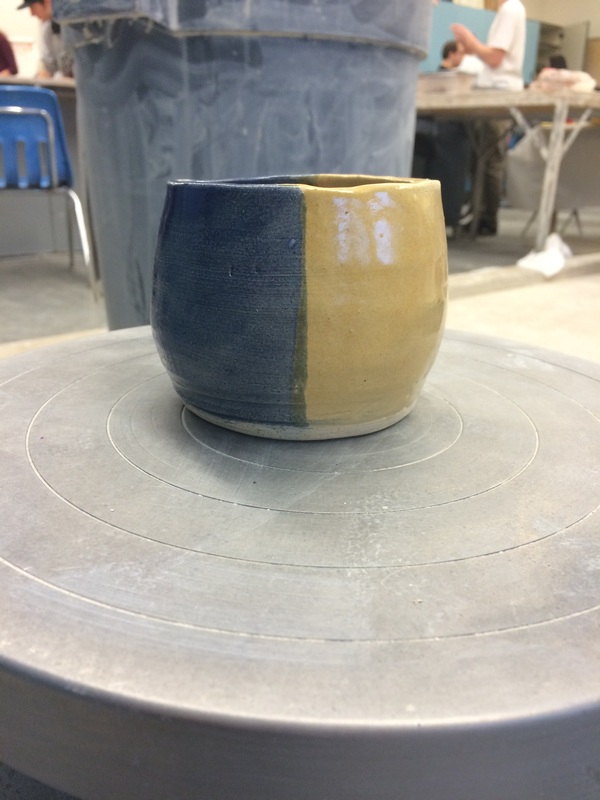 The Italian straw and cobalt blue color combination turned out well - I like how the yellow is bright and cheery and the cobalt is darker but still cheery. 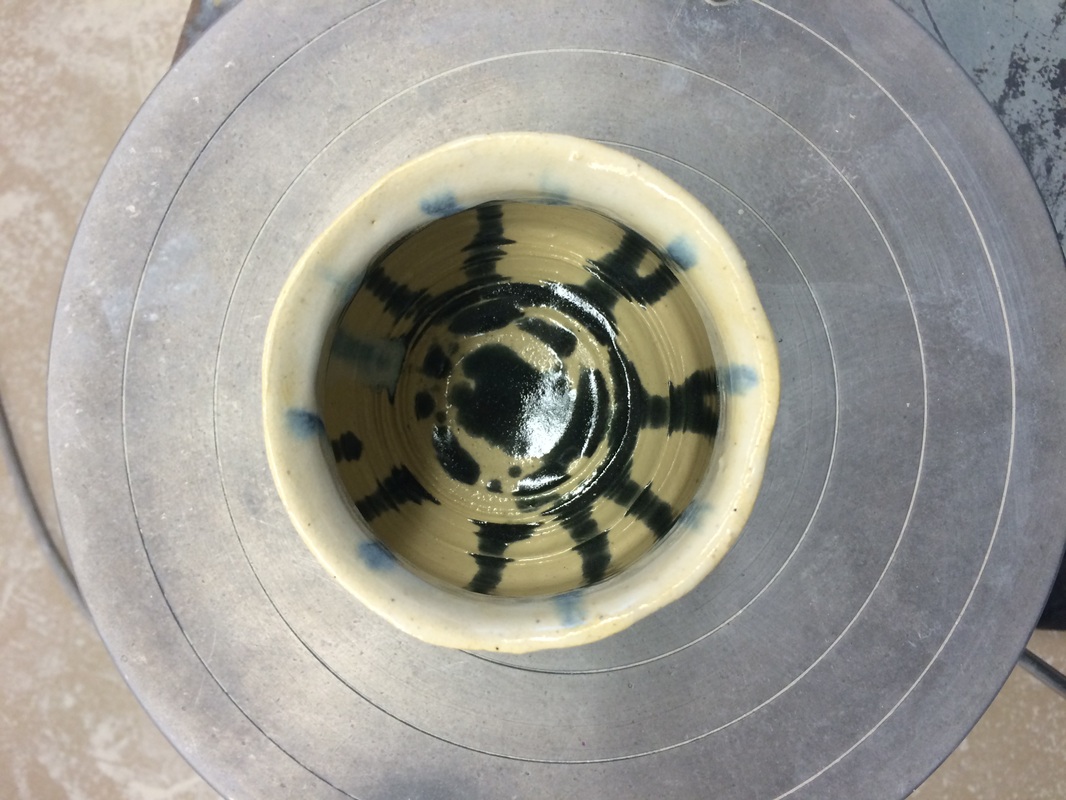 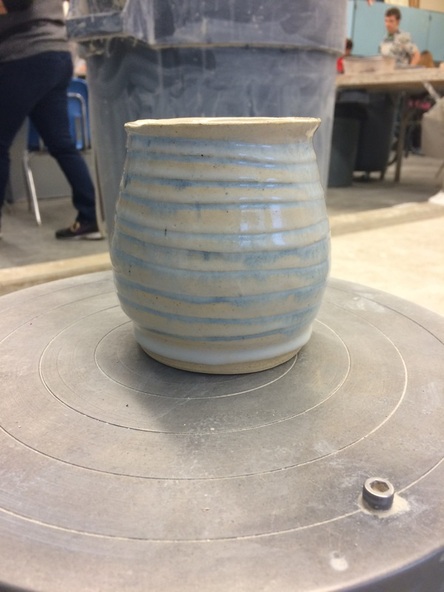 I really liked how the inside of this project turned out. The outside did not turn out as I had expected - next time I will fill the lines I created in the pot after I put the base coat on so that the glaze is more prominent. 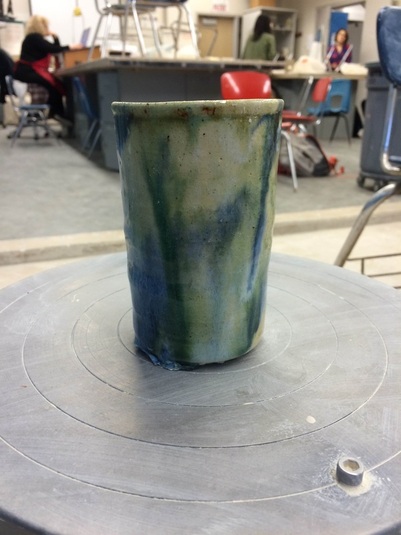 This project turned out awfully the first time I glazed it...the glazes were all wrong and messed up because I had wiped off too much of the base brown. Unfortunately, I do not have a photo of its first glaze. This photo is of its second glazing, which looks MUCH better and I love. However, I learned a few things about re-glazing projects due to this:
1) when you re-glaze a project, the clay does not soak up the water in the glaze; 2) due to this, the glaze takes MUCH longer to dry; 3) much less glaze is needed to coat the project in the second glazing - it runs much worse when it is re-glazed than it normally would after the first bisque of the project.
0 Comments
Today was a massive throwing day, which consisted of throwing these projects during class as well as after school. The following pictures are creations of the day: 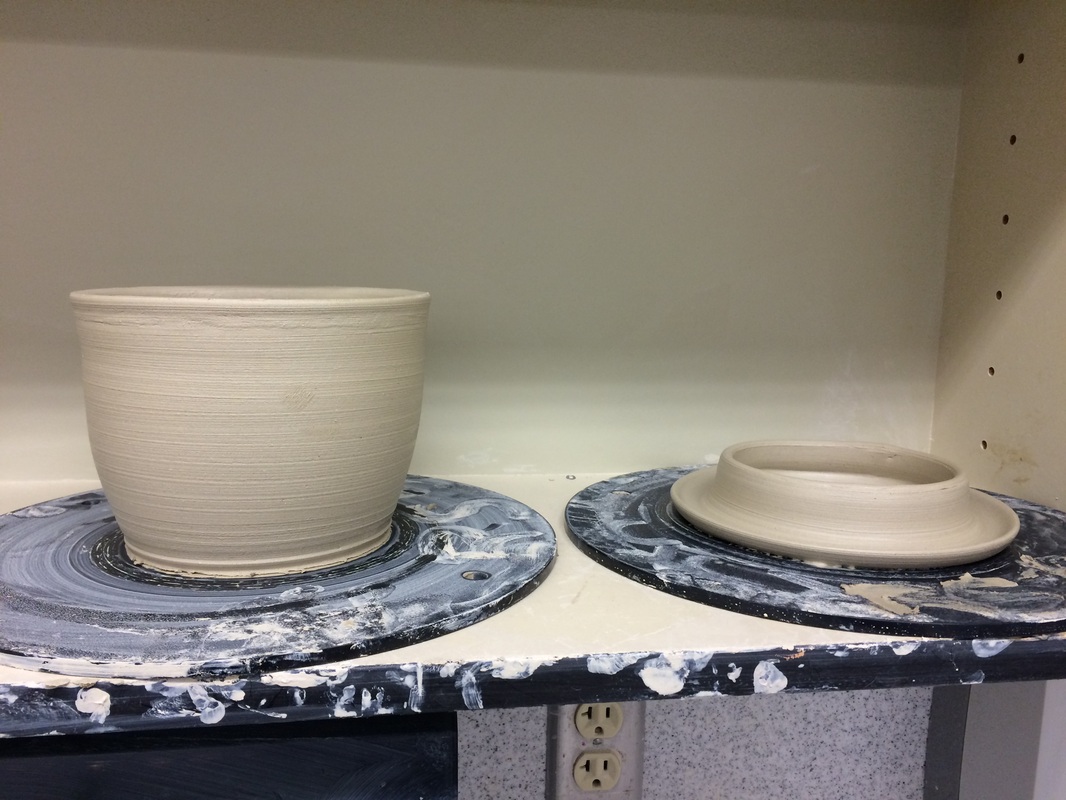
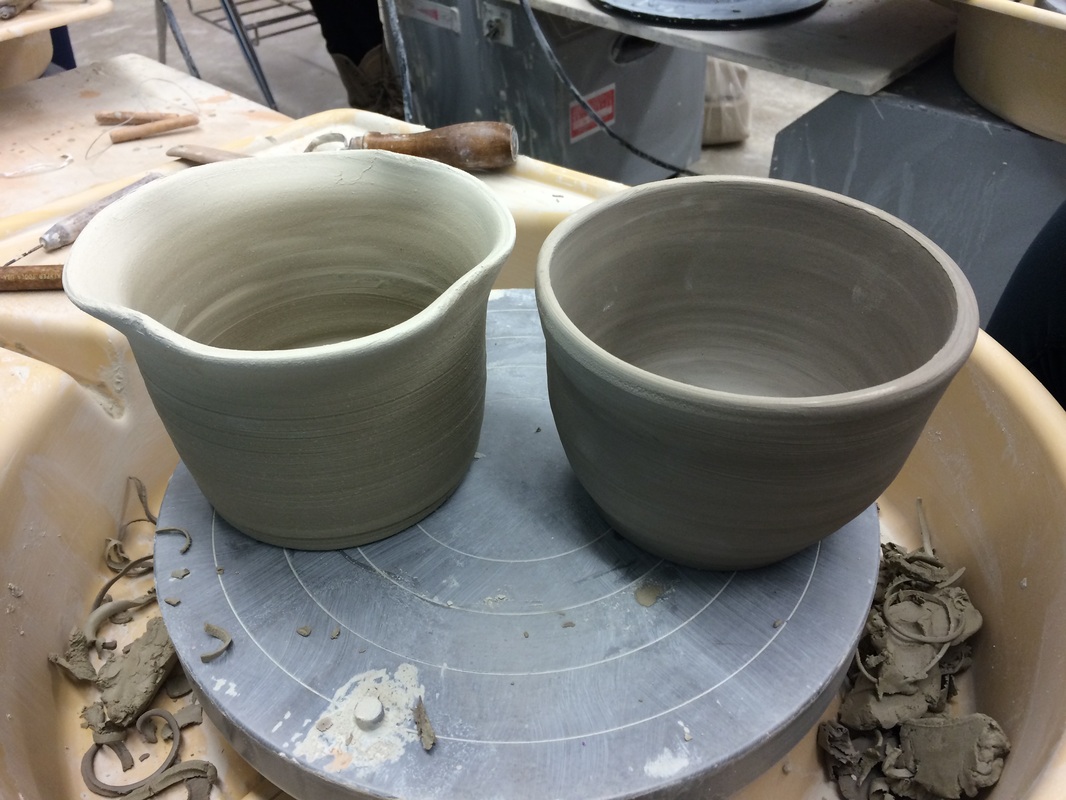
(Above) A large lidded project which I threw after school today. In order to do this, I first made the cylinder on the left by pulling a wide base and then pulling the walls up. Then, I took an amount of clay I thought would work to be the right size for a lid and opened twice, first creating the inner ring and then the outer ring. As I made the lid, I made sure to check its size with the cylinder as I made it, and continued to pull out until it fit the cylinder. (Below) This is a small cylinder that will be turned into a nice cup tomorrow when I foot and add the handle (also thrown after school). 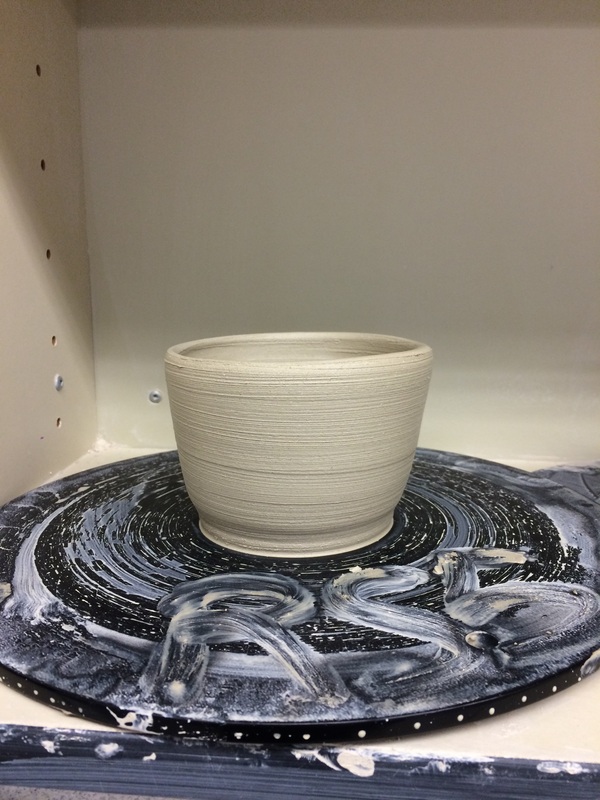
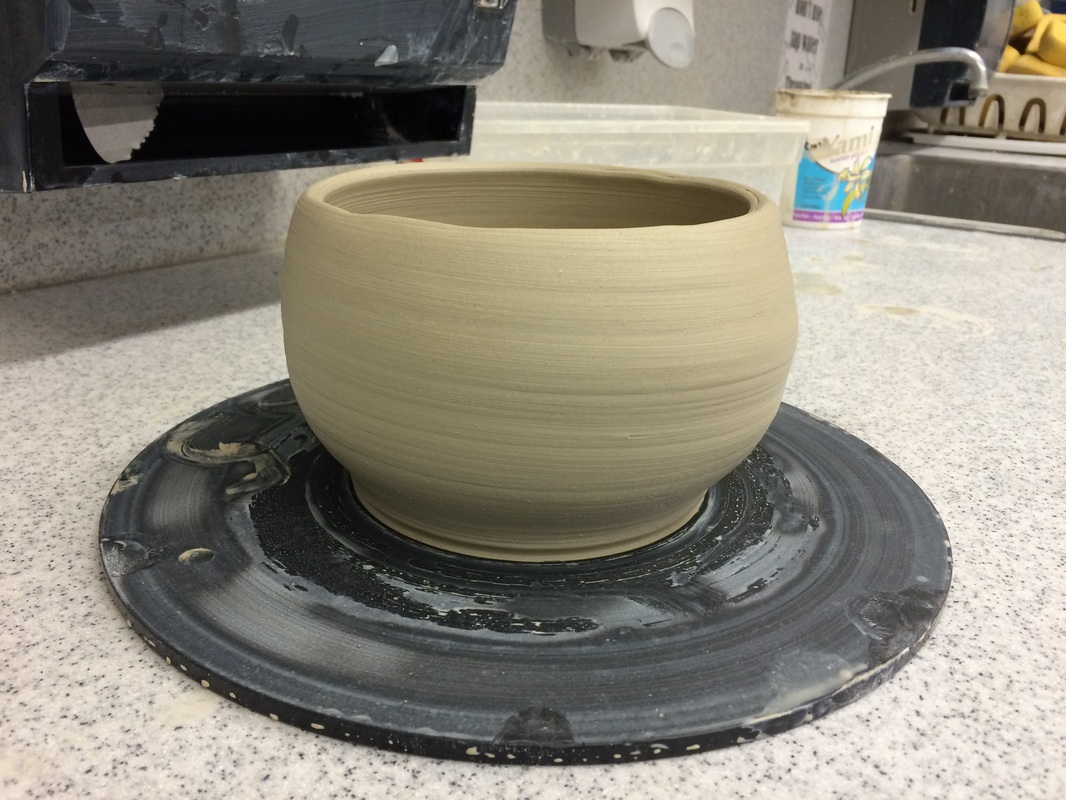
(Above) This large bowl (created after school) was originally going to be a tall vase, but then I ran out of clay to pull up, so it became a large bowl created without using the ribbed tool. After creating this with just my hands, I think I like creating bowls better with just my hands - the shape seems to turn out better for me. (Below) When I sat down to throw this project during class today, I was not quite sure what I was going to make. As it began to take shape, it looked more and more like a cylinder, but one side was a little thicker than the other, so when it was left without a fancy ending it looked odd. In order to give it a more appealing appearance, I flared the top out and then gave it a wave-like appearance, which greatly enhanced its visual appeal. 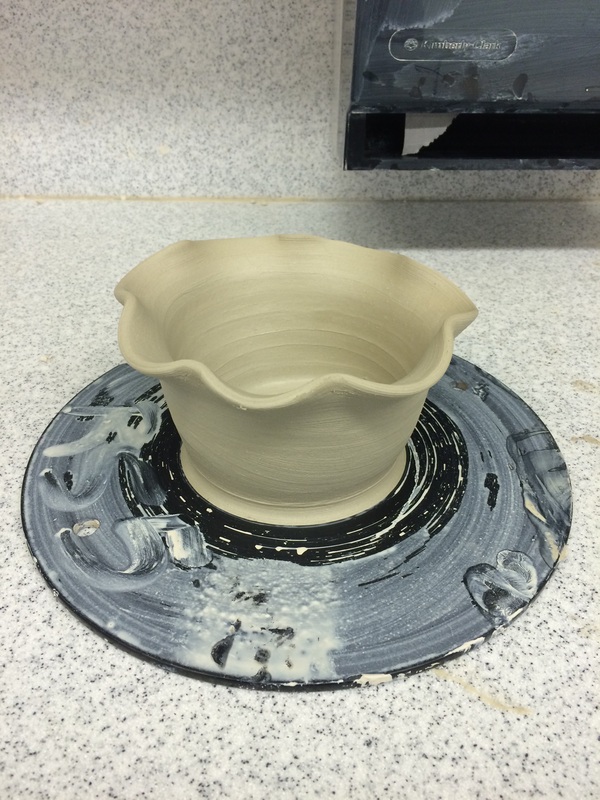
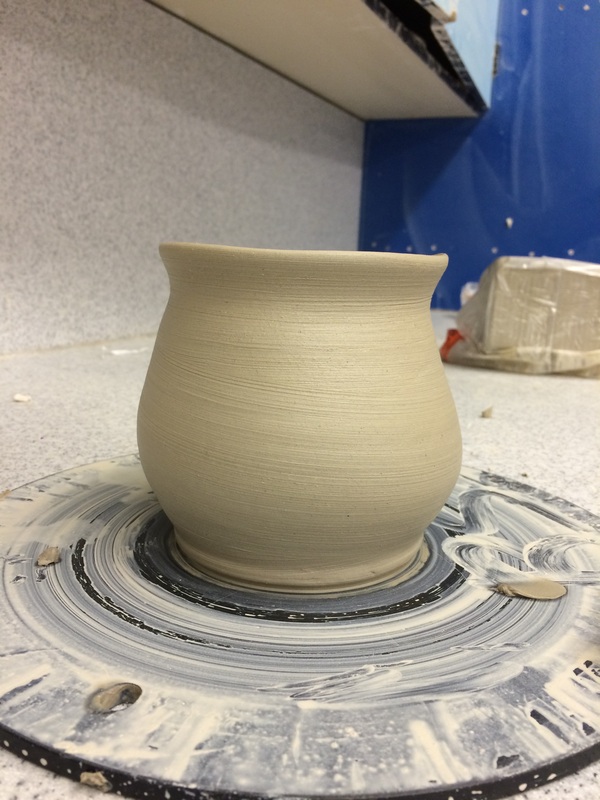
(Above) The first project I threw during class today was the above vase. Seeing as I had not thrown a vase for quite some time, I figured I would give it a shot and see how one would turn out. For the next vase I create, I plan to make the body more even in curvature and bring the apex of the curve more to the center of the body than below the mid-line.
Below are pictures of the two projects I footed today. The project on the left (the lighter colored, odd-rimmed one) was made with vashon white and the bowl on the right was made from seamix. When footing today, I had to use clay to even out the top of the vashon white project, seeing as I formed the top to a wave-like pattern, which made the top uneven when it came to footing. I also had to understand how footing was different with seamix - the process is the same but the clay acts differently when footed (and thrown). 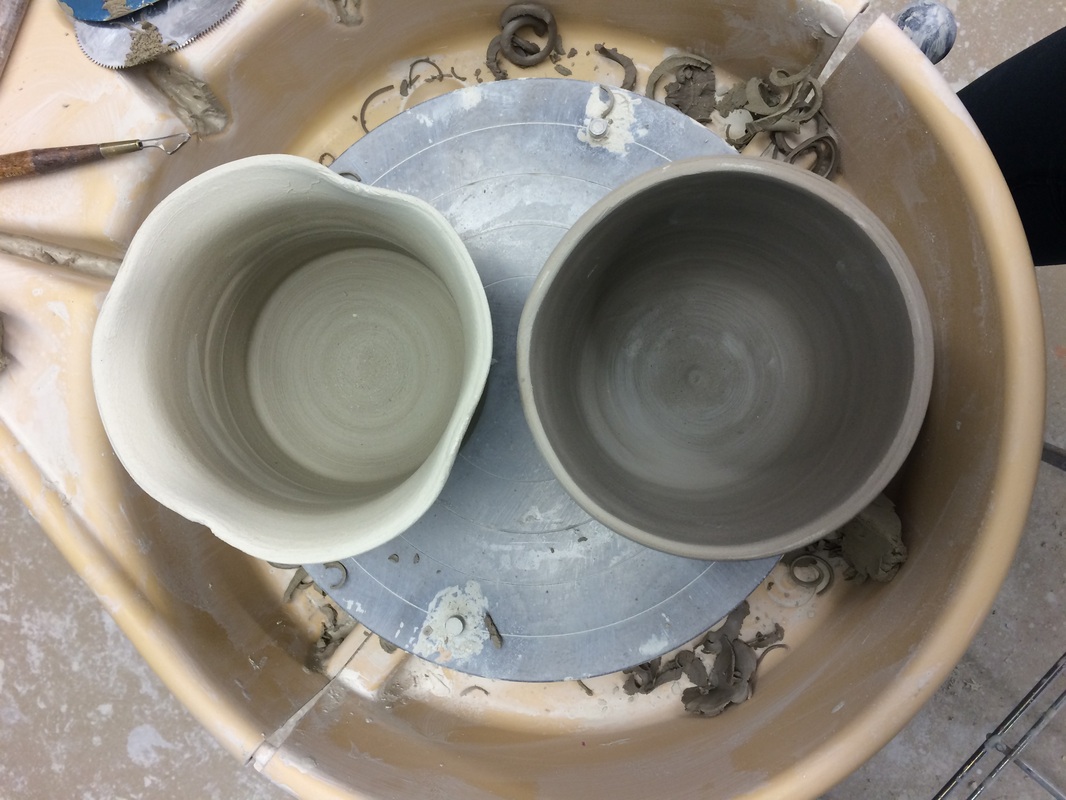
Today I glazed the first projects of the semester that I have created. I experimented with glazes on these projects. 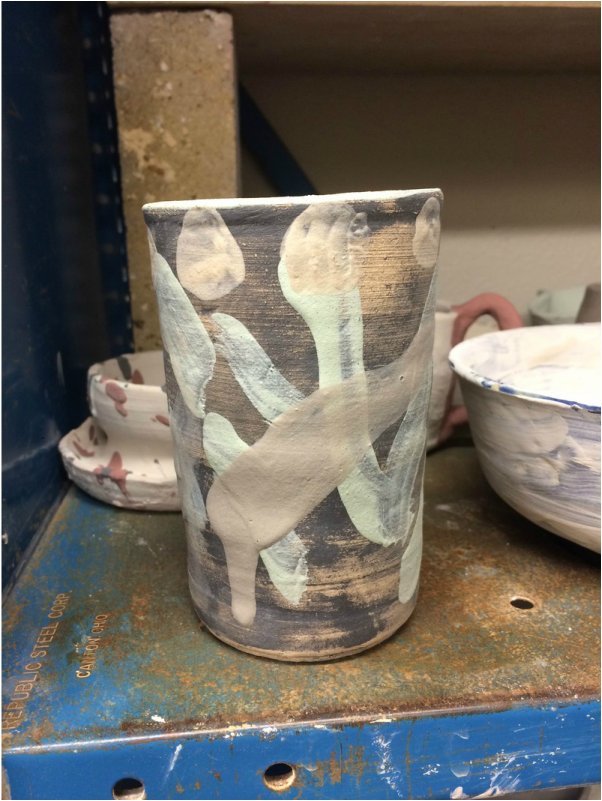 For this cylinder project pictured above, I used metallic brown for the base color and then wiped the majority of it off so that the painted swishes of shadow green, cobalt blue, and white glaze would be visible as well. 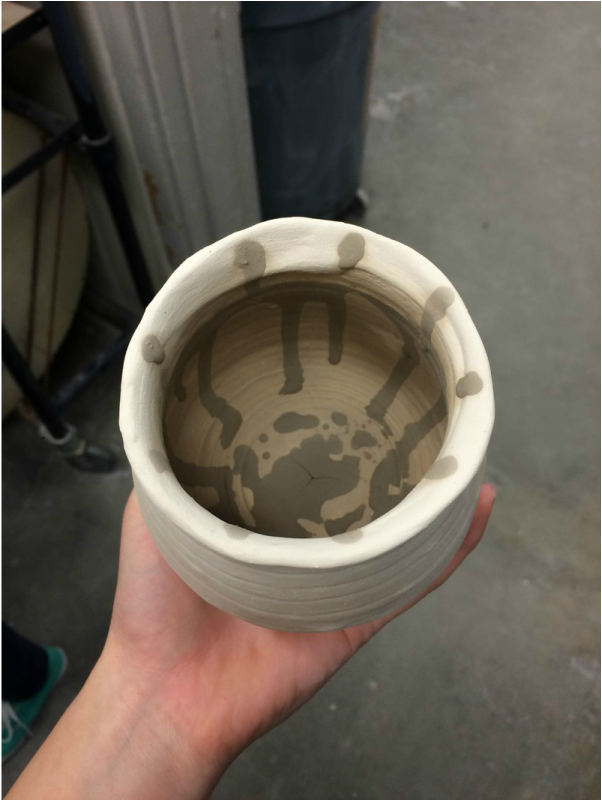 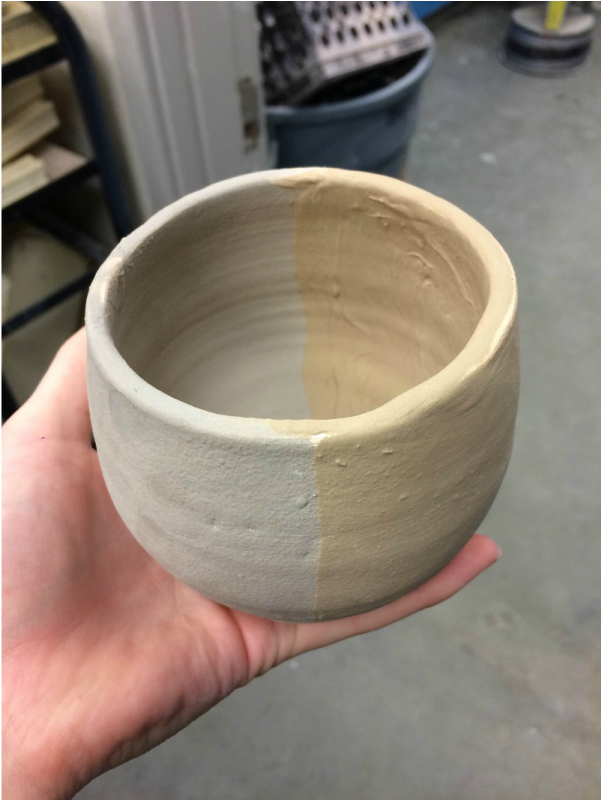 When I footed this vase-like project (above), I used the loop tool to put a swirl pattern into the side, which I filled with scrap with rutile glaze. Then, I made sure the scrap glaze was only in the cracks, dipped the project in white on the outside, covered the inside with clear glaze, and then dripped the same scrap glaze into the inside. This project was used to test the compatibility of the italian straw and cobalt blue color as they mix together as well as offset one another on the same project.
|
AuthorWrite something about yourself. No need to be fancy, just an overview. Archives
June 2015
Categories |
 RSS Feed
